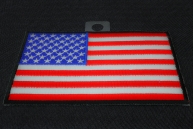
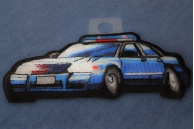
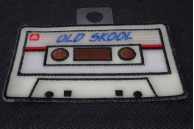
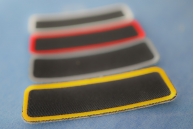
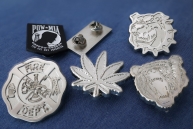
It makes a world of difference when your product videos have an all pure white background. It just looks nicer on a web page. Here is an attempt at me taking videos of 33 large patches only to realize later that the white is still slightly off on some of them. A backlit surface is a must have to get that nice background. Otherwise you will have a lot of over exposure over the white parts of your product. The batch I did the prior day all worked out great with pure white backgrounds, this batch here I was a bit lazy in rechecking the histogram to see if the background was pure white.
Remember you don't need extreme lighting. You just need lights, you can always adjust your cameras shutter speed, aperture and ISO speeds to bring out that white background. Histogram comes an essential tool almost. How do you read that thing? Well practice is what teaches you. You kind of develop a feel for what the Histogram means. And as you become a pro, rather than visually checking out how the product looks, you tend to look at the histogram to see if the lighting and exposure of the photo is going to turn out good. The hardest thing to do is to make sure the whites on the product don't burn into pure white. As you compensate to avoid burning the whites on your product you will realize the background white can start to turn gray too. Just have to read that histogram right. The other hard part is to make sure you see the shadows in the blacks, if you don't have enough light, the blacks kind of blend into each other and you don't get to see those embroidered black borders over the black fabric.
You might be saying what's this guy talking about, all these backgrounds look white to me. Well you have to be critical of your own work to improve the results, and to me there is just the tiniest amount of gray in that white background. It becomes more apparent as I move my hand and block some of the light coming from the ceiling. Just a notch higher in ISO setting would have taken care of this.
When I take photos in a studio environment where I have full control of the lights then I Set the camera to Manual mode where I can have full control of the camera Exposure levels. When taking these videos I used the lowest f value for Aperture. I keep the shutter speed to 1/100 so the video comes out crisp (if you pause the video the picture would not be blurry, if you used a lower shutter speed you may see blur, again the shutter speed settings can be faster or slower depending on how fast your subjects are moving. For me 1/100 works well. Once the shutter speed and the Aperture is set I fiddle around with the ISO settings to get that white background. Depending on how much light you have in your studio this ISO setting can range for as low as 100 to as high as 1000. I wouldn't go any higher than 1000 as the images may start to look grainy OR not as sharp and clear as how they would have looked if you used a lower ISO. If you need to go over 1000 ISO. You can reduce the shutter speed to 1/60 and with any luck you'll get that pure white background with the ISO remaining under 1000.
Best way to learn how to get the best results is to practice a lot and see what the histogram does as you change the camera exposure settings (iso, shutter speed or aperture are the three things you can vary to change exposure). If you pay attention to the changes in histogram you'll naturally begin to see what it needs to look like in order for the light to be perfect. If you have lights with dials to tone them down, it's always nice to play around with those knobs and fine adjust the light and watch what the histogram does. Hope you've enjoyed these few tips. RIDE SAFE
